Oct 6, 2021
How to Charge an RV Battery with a Generator: Complete Guide
How to Charge an RV Battery with a Generator: Complete Guide
A
By Aaron Ammar
Learn how to safely charge your RV battery with a portable generator. We cover equipment, safety steps and more
Common questions
Blog Post
Education
Charging your RV battery with a generator is straightforward: connect your RV's shore power cord to the generator's 120V AC outlet, warm up the generator for 5-10 minutes, then plug in your RV. Your built-in converter transforms AC power to DC for battery charging. Always wear safety gear, ensure proper ventilation, and keep the generator at least 5 feet from windows. Most RV batteries reach full charge in 4-8 hours, depending on battery type and discharge level.
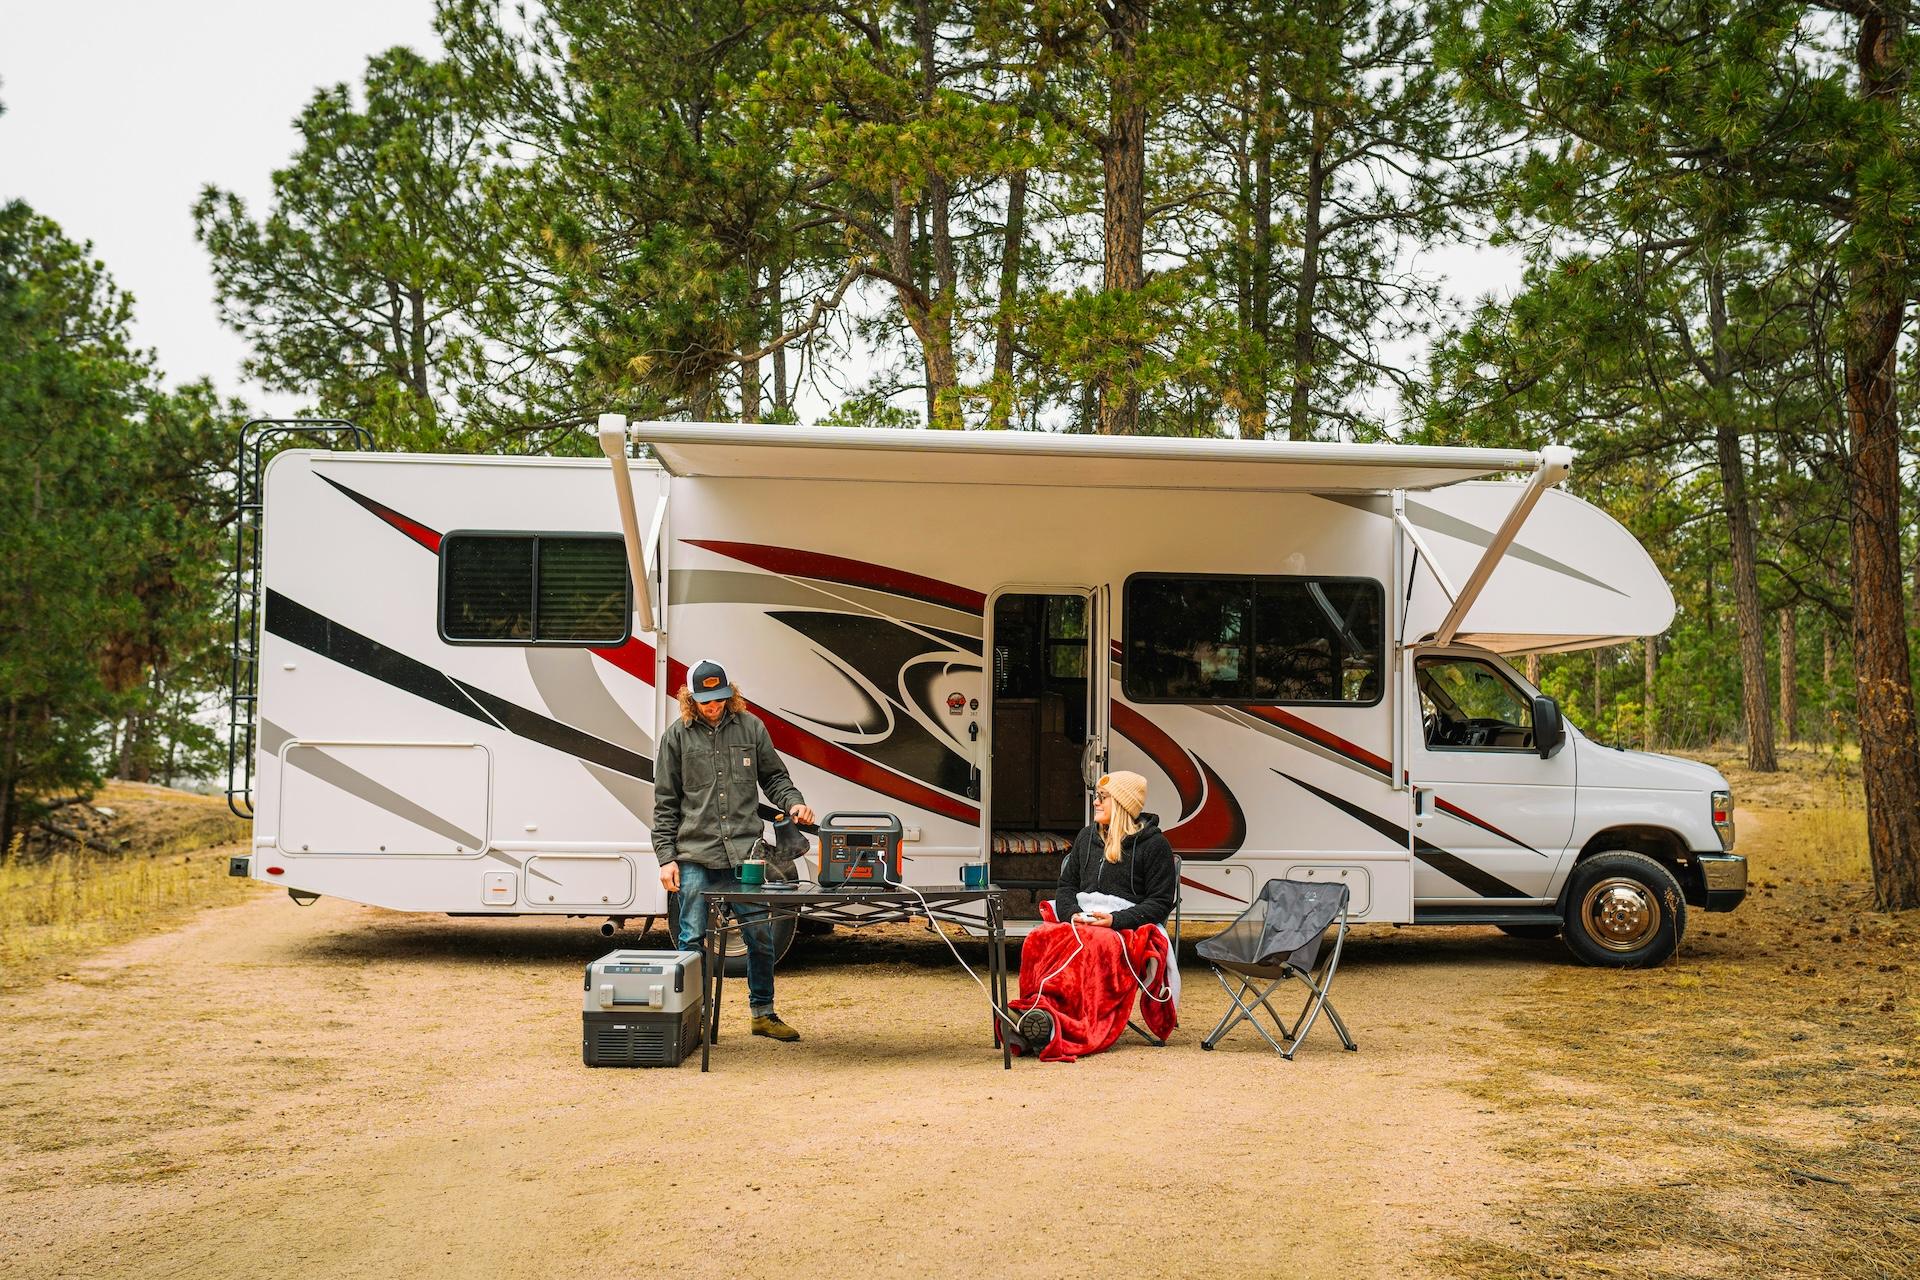
Dead RV batteries don't have to kill your adventure. Whether you're boondocking in the backcountry or dealing with a power emergency, knowing how to safely charge your house batteries with a portable generator keeps you rolling down the road. This guide walks you through everything from safety prep to understanding different battery types—because getting stranded with dead batteries isn't part of anyone's travel plan.
What Equipment Do You Need to Charge RV Batteries with a Generator?
You'll need a portable generator (2000-4000 watts recommended), your RV's standard shore power cord, safety equipment (goggles, gloves), and optionally a dedicated battery charger for faster charging speeds.
The generator size matters for charging efficiency. A 2000-watt generator provides enough power for basic battery charging, while a 3500-4000-watt generator charges batteries faster and can handle additional RV systems simultaneously. Don't worry about getting the biggest generator on the market—you're not powering your entire neighborhood.
For battery chargers, you've got options. A 10-amp trickle charger will get the job done slowly, while a three-stage charger charges at much faster rates but requires more generator power—about 600 watts for a 10-amp charger versus 2000 watts for a triple-stage charger.
Most RVs come with a built-in converter that handles the charging automatically when you plug into shore power or a generator. This converter changes AC power from your generator into the DC power your batteries need.
How Do Different RV Battery Types Affect Generator Charging?
Lithium (LiFePO4) batteries charge 4x faster than lead-acid, AGM batteries offer a middle-ground charging speed, and flooded lead-acid batteries charge slowest but cost least upfront—each requiring specific charger compatibility for optimal performance.
Lithium batteries charge more efficiently and quickly than traditional batteries, can handle deeper discharge (80-90% vs 50% for lead-acid), and last 10+ years with proper care. They're like the sports car of RV batteries—fast, efficient, but with a higher price tag. According to 2024 market data, lithium batteries now account for approximately 60% of the RV battery market, while lead-acid maintains a 40% share.
AGM batteries charge faster than flooded lead-acid, require no maintenance, resist vibration well, and handle deep discharges better than traditional lead-acid—making them ideal for RVs traveling bumpy roads. Think of them as the reliable workhorse option. AGM technology represents a significant portion of the lead-acid segment, especially for RVers who want maintenance-free operation without lithium's higher cost.
Traditional lead-acid batteries are the cheapest upfront option but require regular maintenance, are heavier, and typically last 3-5 years with deeper discharges, reducing their lifespan. They're the budget-friendly choice that needs more attention. While still popular among cost-conscious RVers, traditional flooded lead-acid batteries are gradually losing market share to more advanced technologies.
What Are the Step-by-Step Safety Procedures for Generator Battery Charging?
Start with a pre-check inspection of both generator and batteries, wear protective equipment, ensure proper ventilation, position the generator 5+ feet from windows, warm up the generator before connecting, then make proper electrical connections following red-positive, black-negative protocol.
Before you fire up that generator, take a walk around both your RV and generator. Inspect your batteries for corrosion, fuzz, or damage—if you see issues, clean with a wire brush before charging. Check your generator's oil, fuel, and air filter while you're at it.
Safety gear isn't optional. Always wear safety goggles and gloves when handling RV batteries, as they can be dangerous without proper precautions. Position your generator at least 5 feet away from RV windows and ensure charging happens in well-ventilated areas to prevent hazardous hydrogen gas buildup.
Place the generator on even ground close to your RV and turn it on to warm up for 5-10 minutes before plugging everything in—your generator needs to be warm enough to work properly. This isn't the time to rush.
Connection order matters for safety: Connect the red cable to the positive terminal first, then the black cable to the negative terminal when connecting, and reverse the order when disconnecting.
How Long Does It Take to Charge RV Batteries with a Generator?
Charging time depends on battery type, discharge level, and ambient temperature—expect 4-8 hours for a full charge from 20-30% capacity, with lithium batteries charging fastest and cold weather extending charging times significantly.
If your batteries are down to 20-30% charge, expect 6-8 hours for a full charge, while batteries at 50-60% capacity typically take 3-4 hours. Winter camping? Real winter conditions may take longer than normal due to reduced battery efficiency in cold temperatures.
Battery type makes a big difference in charging speed. Lithium batteries charge approximately four times faster than lead-acid batteries due to their ability to handle higher amperage from chargers. That's why many serious boondockers are making the switch.
A 50-amp converter can charge a 12V 100Ah lithium battery in about 2 hours with shore power or a 2000-watt generator offering similar charging speeds. Your built-in RV converter does the heavy lifting here.
Pro tip: While your generator can charge batteries and operate essentials simultaneously, shutting off all non-essential systems allows all power to flow to battery charging for faster results. If you're living in your RV full-time and rely heavily on battery power, consider upgrading to full-time RV insurance that understands the unique challenges of life on the road.
What Are the Most Important Generator Battery Charging Safety Guidelines?
Never charge in enclosed spaces due to hydrogen gas risks, avoid mixing battery types, disconnect immediately when fully charged, keep flammable materials away, ensure proper cable connections, and never charge with two power sources simultaneously.
Gas buildup is a real danger. Batteries release significant amounts of hydrogen gas that can be hazardous in closed spaces—always open windows during charging for ventilation. Think of it like running a gas stove indoors—you need airflow. Additionally, portable generators themselves pose carbon monoxide risks, with Consumer Reports data showing that proper generator safety practices are critical for preventing CO poisoning deaths.
Never charge your RV batteries with two sources simultaneously, and keep flammable materials away from batteries during the charging process. One power source at a time prevents electrical conflicts that can damage your system.
Use the correct type of charger for your specific battery type (lead-acid, AGM, or lithium) and ensure charger compatibility with voltage and amperage requirements. Using the wrong charger is like putting diesel in a gasoline engine—bad things happen.
Make sure connections are properly made with attention to black and red cables, and disconnect your batteries immediately once they reach full charge to prevent overcharging damage.
Temperature matters for safety and performance. Avoid charging batteries if the temperature exceeds 122°F, and lithium batteries may require temperature regulation for use in below-freezing conditions.
How Do You Troubleshoot Common Generator Charging Problems?
Common issues include faulty chargers, corroded battery terminals, damaged RV power cords, generator power problems, and batteries that have lost their ability to hold a charge—systematic checking helps identify the root cause quickly.
When your setup isn't working, start with the basics. Check the charger for faults and replace it if necessary, inspect battery terminals for rust that prevents proper charging, and examine your RV power cord for damage.
Generator issues are often simple fixes. RV generators usually have a breaker directly on them or on a panel inside the RV—make sure the breaker switch is in the "on" position. Before starting, check the engine oil, gasoline, and filter condition because a generator that won't run properly can't charge batteries effectively.
Sometimes the problem is the battery itself. Test the battery with a multimeter to see if it has lost the ability to hold charges. A battery that won't hold a charge needs replacement, not more charging time. Common failure causes include sulfation in lead-acid batteries (especially when discharged below 50% frequently), damaged cells from overcharging, or simply reaching end-of-life after 3-5 years for lead-acid or 8-10 years for lithium batteries.
What's the Best Generator Size for Different RV Battery Configurations?
Single 12V battery: 1000-2000W generator; dual 6V setup: 2000W minimum; large lithium banks: 3000-4000W for optimal charging speed; multiple battery banks may require 4000W+ depending on total amp-hour capacity.
A 1000-watt generator can charge RV batteries, but a 2000-3000-watt generator provides better charging efficiency and faster results. Size up if you want to run other systems while charging.
Most generators need about 3,500 watts of capacity and 8 amps to fully recharge a 12-volt RV battery, though a 4,000-watt generator can charge more quickly. Bigger isn't always better, but it does mean faster charging and the ability to power other RV systems simultaneously. When selecting a generator size, Consumer Reports recommends making a list of all appliances you want to power and adding up their wattages to determine your total power needs.
For lithium setups, remember that lithium batteries can handle higher amperage from chargers, so pairing them with a properly sized generator and charger maximizes their fast-charging advantage.
Consider your camping style, too. Weekend warriors might be fine with slower charging from a smaller generator, while full-timers who rely on generator power regularly will appreciate the speed and convenience of a larger unit. Understanding different types of RV insurance plans can help you choose coverage that matches your RV usage patterns and power needs.
Don't let dead batteries cut your adventure short. The open road is calling, and now you know how to answer with confidence. Whether you're running a weekend getaway or living the full-timer dream, having reliable power keeps you focused on what matters—the journey ahead. And if you're thinking about making extra income by renting out your RV when you're not using it, make sure you have insurance that allows RV rentals to protect your investment.
Get covered for whatever the road brings. Get a personalized RV insurance quote from Roamly and travel with peace of mind.
Like a motorhome's engine, don't let your generator sit unused too long—run it for 10-15 minutes every few weeks to keep the system in proper working order.
A converter transforms AC power from generators/shore power into 12-volt DC to charge batteries, while an inverter converts battery power into 120-volt AC to run larger appliances.
Some larger Class A RVs have internal generators, but they're typically not designed for battery charging—it's a slow, cumbersome process that usually requires shutting off the RV completely, including all appliances.
No. When connecting batteries in parallel, ensure all batteries are the same brand, type, BMS, and capacity, purchased within the same timeframe. Mixing battery types can cause charging imbalances and damage.
Your RV's alternator charges house batteries while the engine runs, but it's slow and better suited for topping up rather than recharging dead batteries. For travel trailers, there's usually a 12-volt connection from the tow vehicle's alternator when properly wired.
Roamly Insurance Group, LLC ("Roamly") is a licensed general agent for affiliated and non-affiliated insurance companies. Roamly is licensed as an agency in all states in which products are offered. Roamly license numbers. Availability and qualification for coverage, terms, rates, and discounts may vary by jurisdiction. We do not in any way imply that the materials on the site or products are available in jurisdictions in which we are not licensed to do business or that we are soliciting business in any such jurisdiction. Coverage under your insurance policy is subject to the terms and conditions of that policy and is ultimately the decision of the buyer.
Policies provided by Roamly are underwritten by Spinnaker Insurance Company, Progressive Insurance Company, Liberty Mutual Insurance Company, Foremost Insurance Company, National General Insurance, Mobilitas Insurance Company, and others.
© 2026 Roamly All rights reserved.
